I guess we all have dreams. Most of the time, they stay dreams, constantly the subject of a wishful ponder.
Well, a few months ago I lost my job. It wasn't a bad thing. It wasn't because of me. But it became the circumstances that made me realise some dreams are worth trying out.
While I have dreams that are bigger than this one.. that I hope to fulfil in the next 10-15 years of my life.. this is where I'm starting.. A food and craft blog... clique? I suppose.
But that's not stopping me from being uniquely me, and bringing what I have to the table as well.
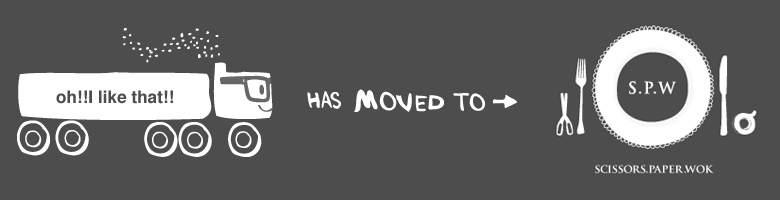
I've decided to start afresh. A brand new blog. I'm a graphic designer, and I've always shuddered looking at the disarray of 'Oh!! I like that!!'. So with one end, came a new beginning.
I did think the banners all around my site would have informed people that I had moved, but I still get an awful lot of traffic for a site that I barely touch. So, just incase you're a faithful subscriber, come on over to:
So the dream.. to be a part-time blogger, part-time designer.. working for myself, from my own home, and able to maintain an income if ever I have children..
There's so much to do.. I know most of you can relate. My to do list just grows and grows, and everything seems important.. (like my tax return.. grrrr)..
Well, here I am... signing off from this blog for a long time.. I may use it again one day, but for now, I have a new baby, and I must attend to it.
Wish me luck, pray for me, it's kinda a big deal if this dream comes true.
And most importantly, please come to my new hangout.. the grass really is greener over there!
Until next time... blessings, joy, and love - no really, I mean it.
Kimanh x


